Revamping the bedroom floor
These new floors have been a while in the making! Months ago, we removed all of the dingy old carpet, nails, and carpet tacks from the upstairs and stairs to pave the way for new flooring. Since we had some higher-priority renovation projects to tackle, this project fell by the wayside.
Until now. 👷♀️ ⚒️
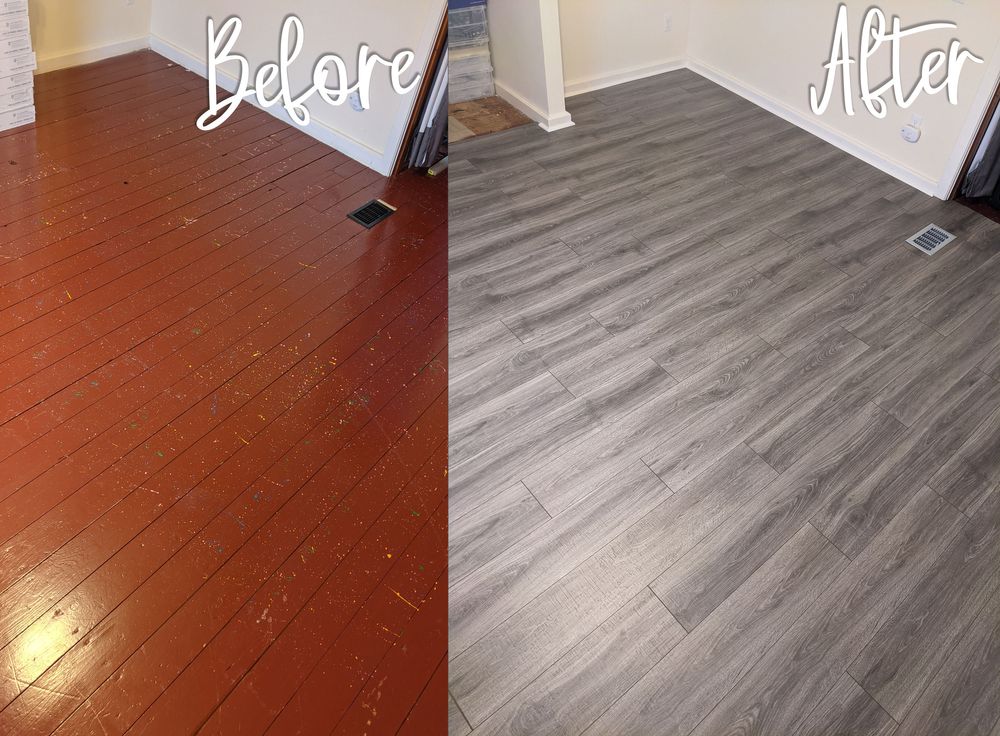
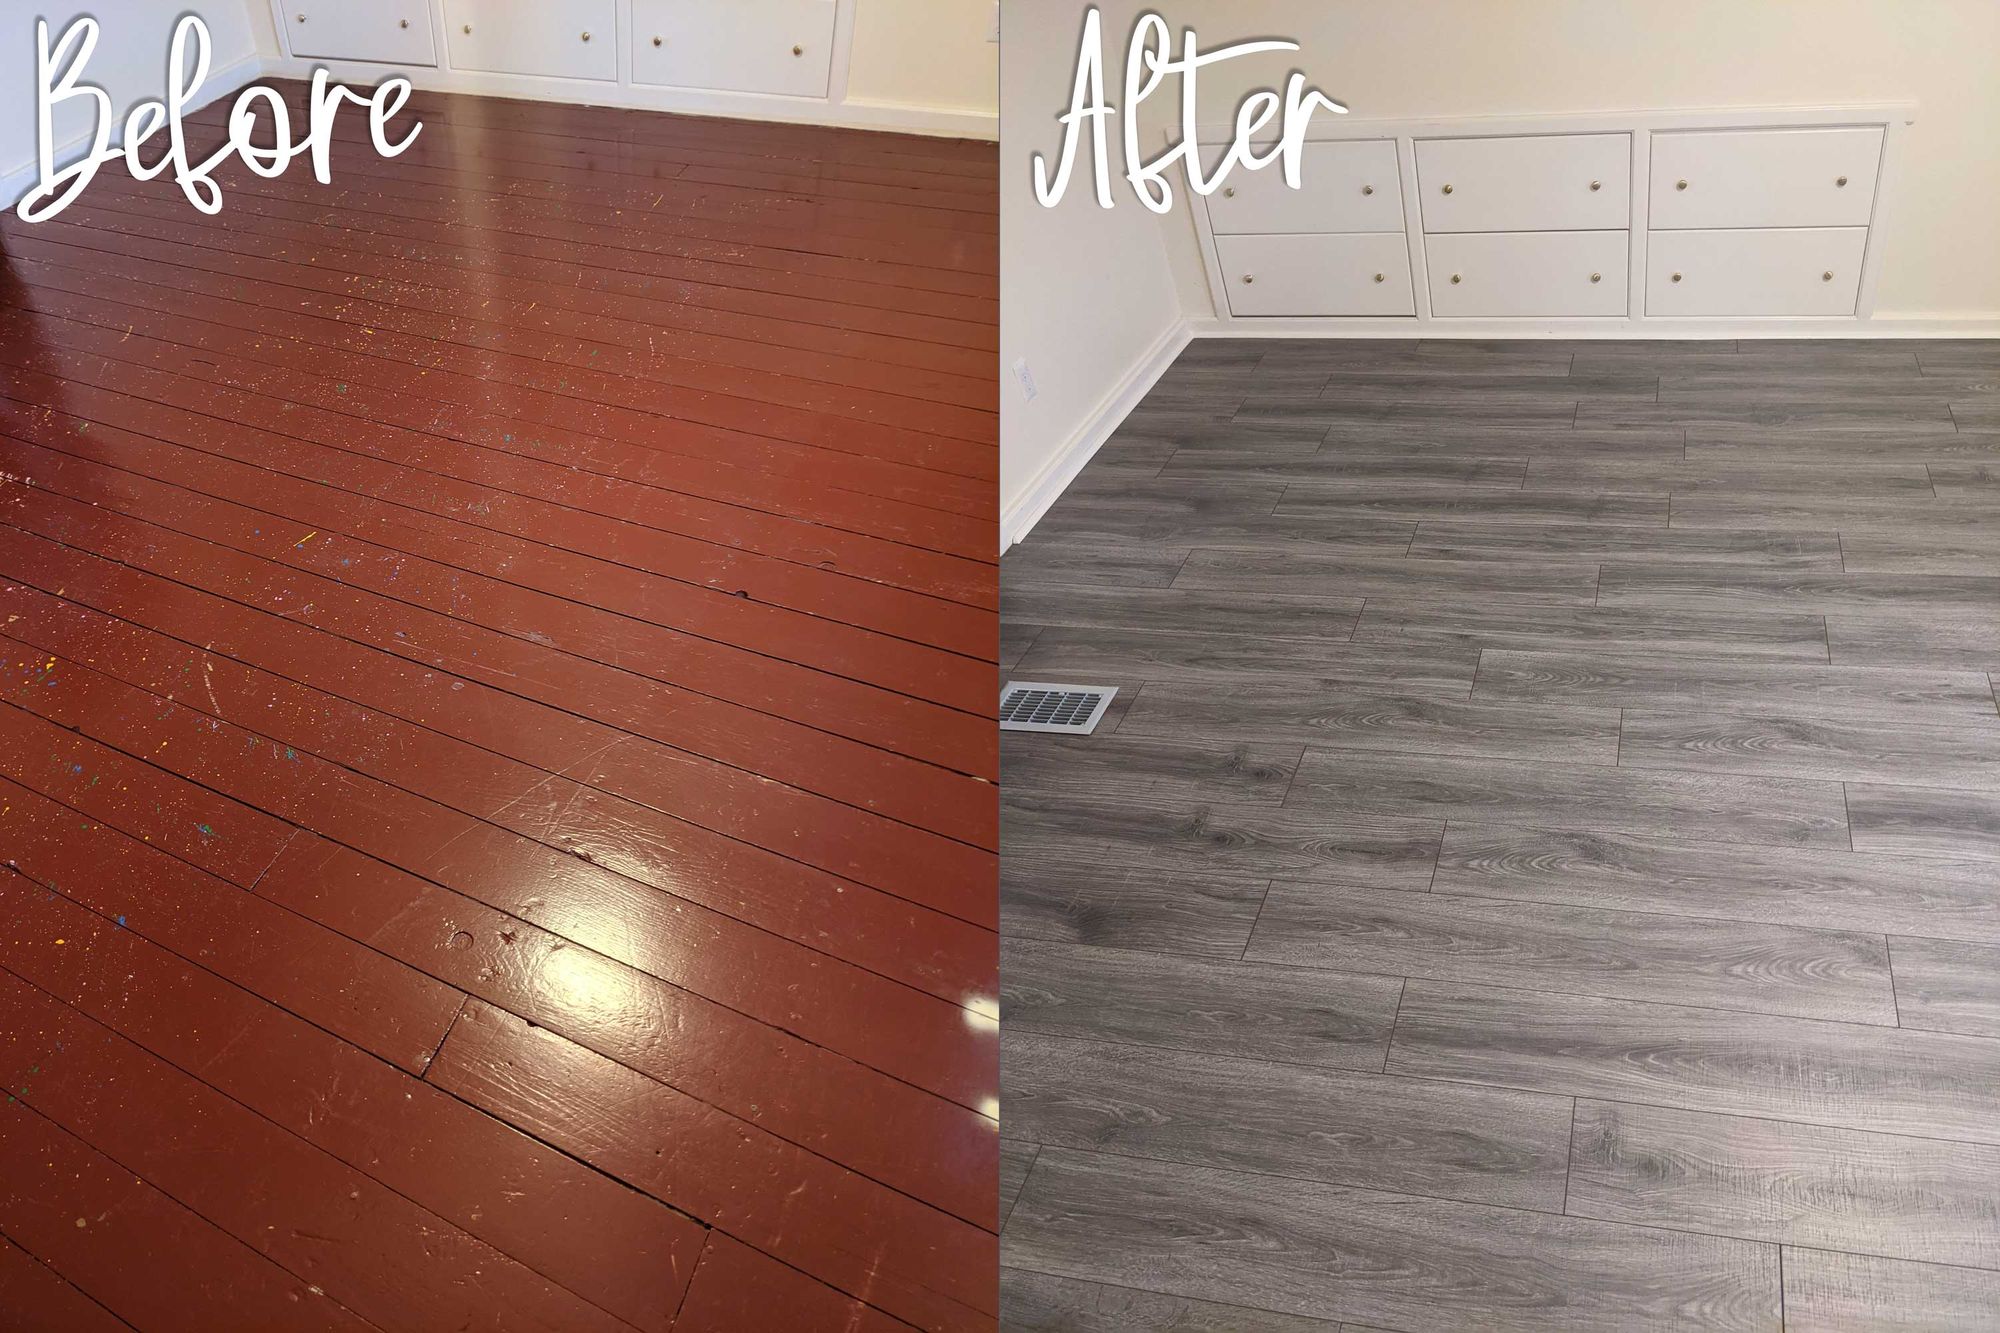
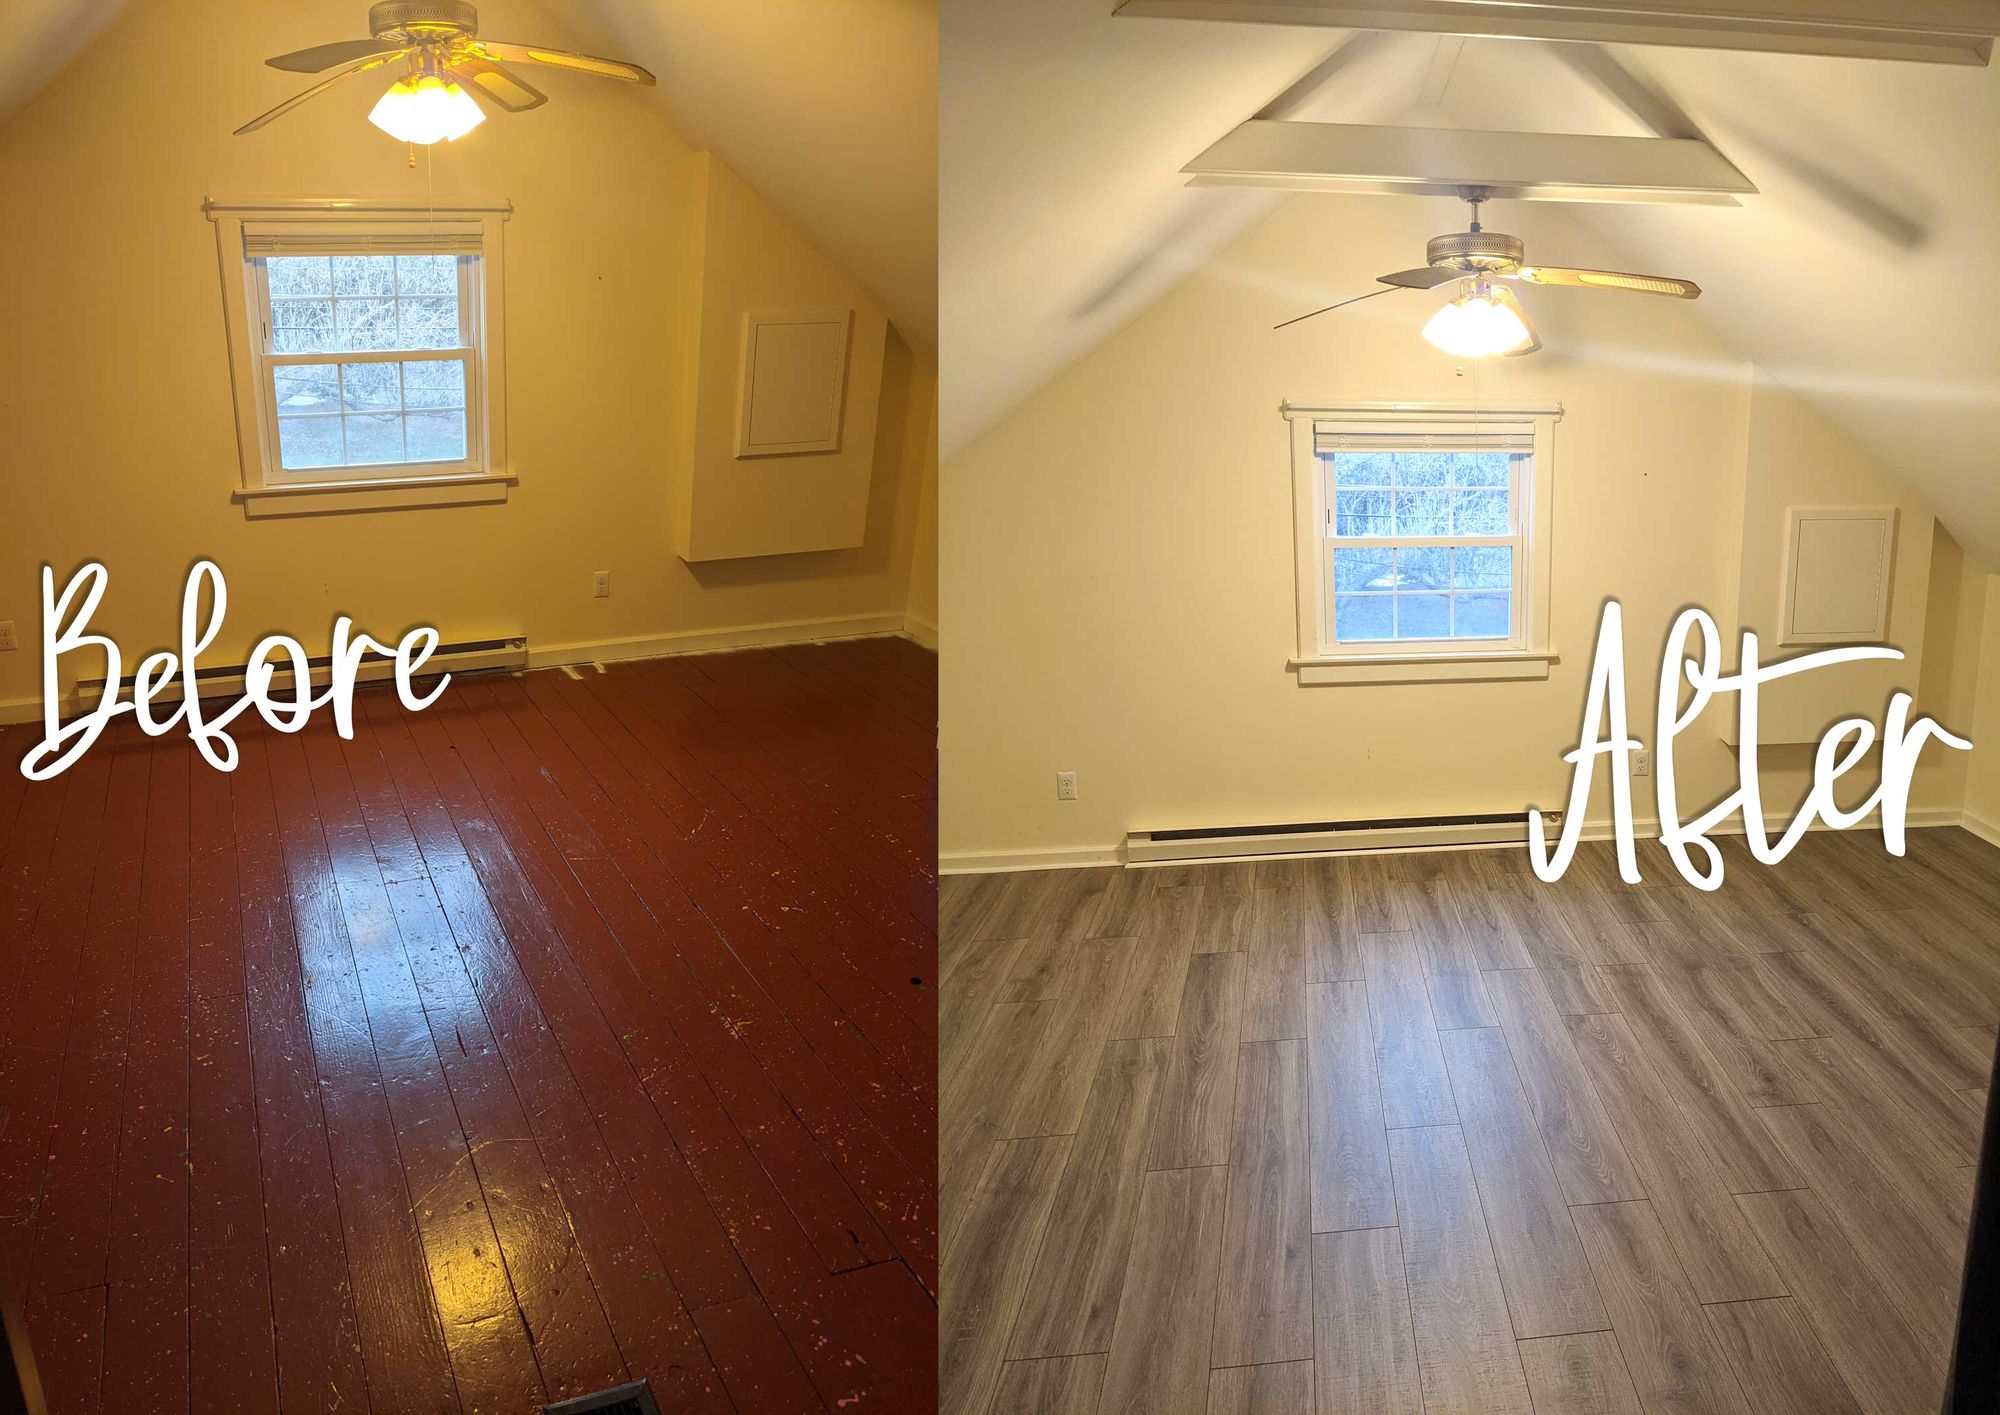
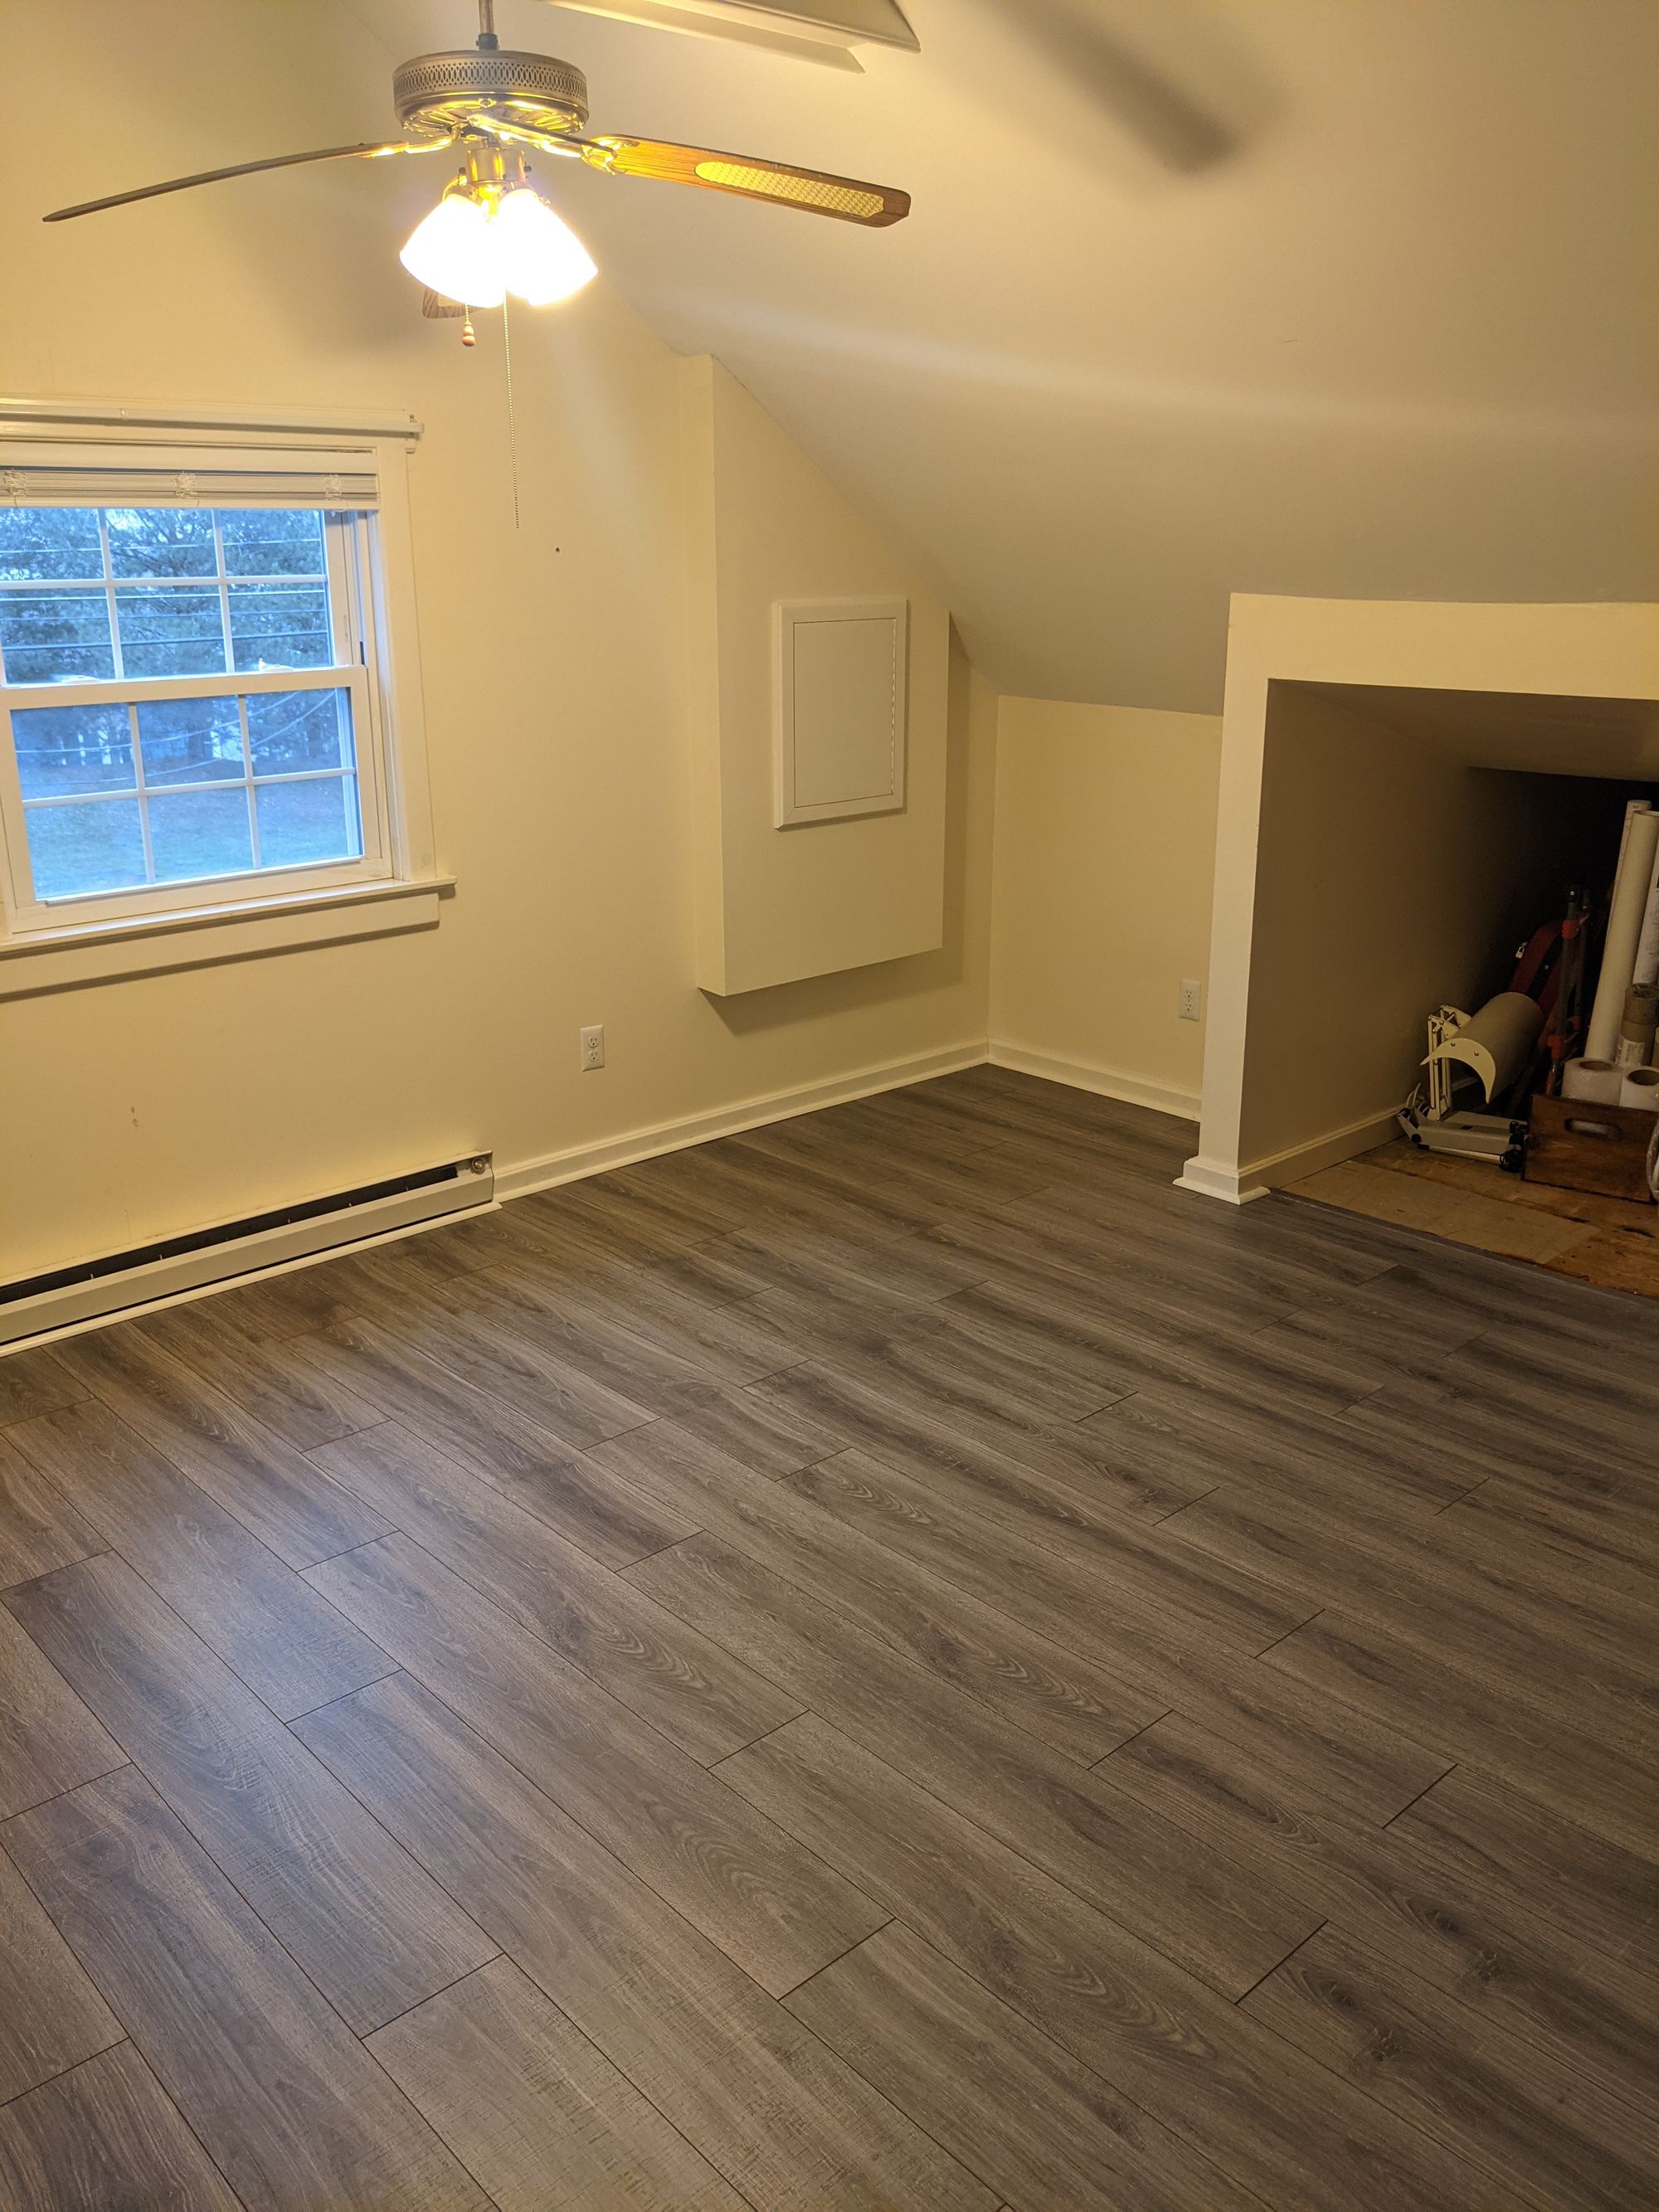
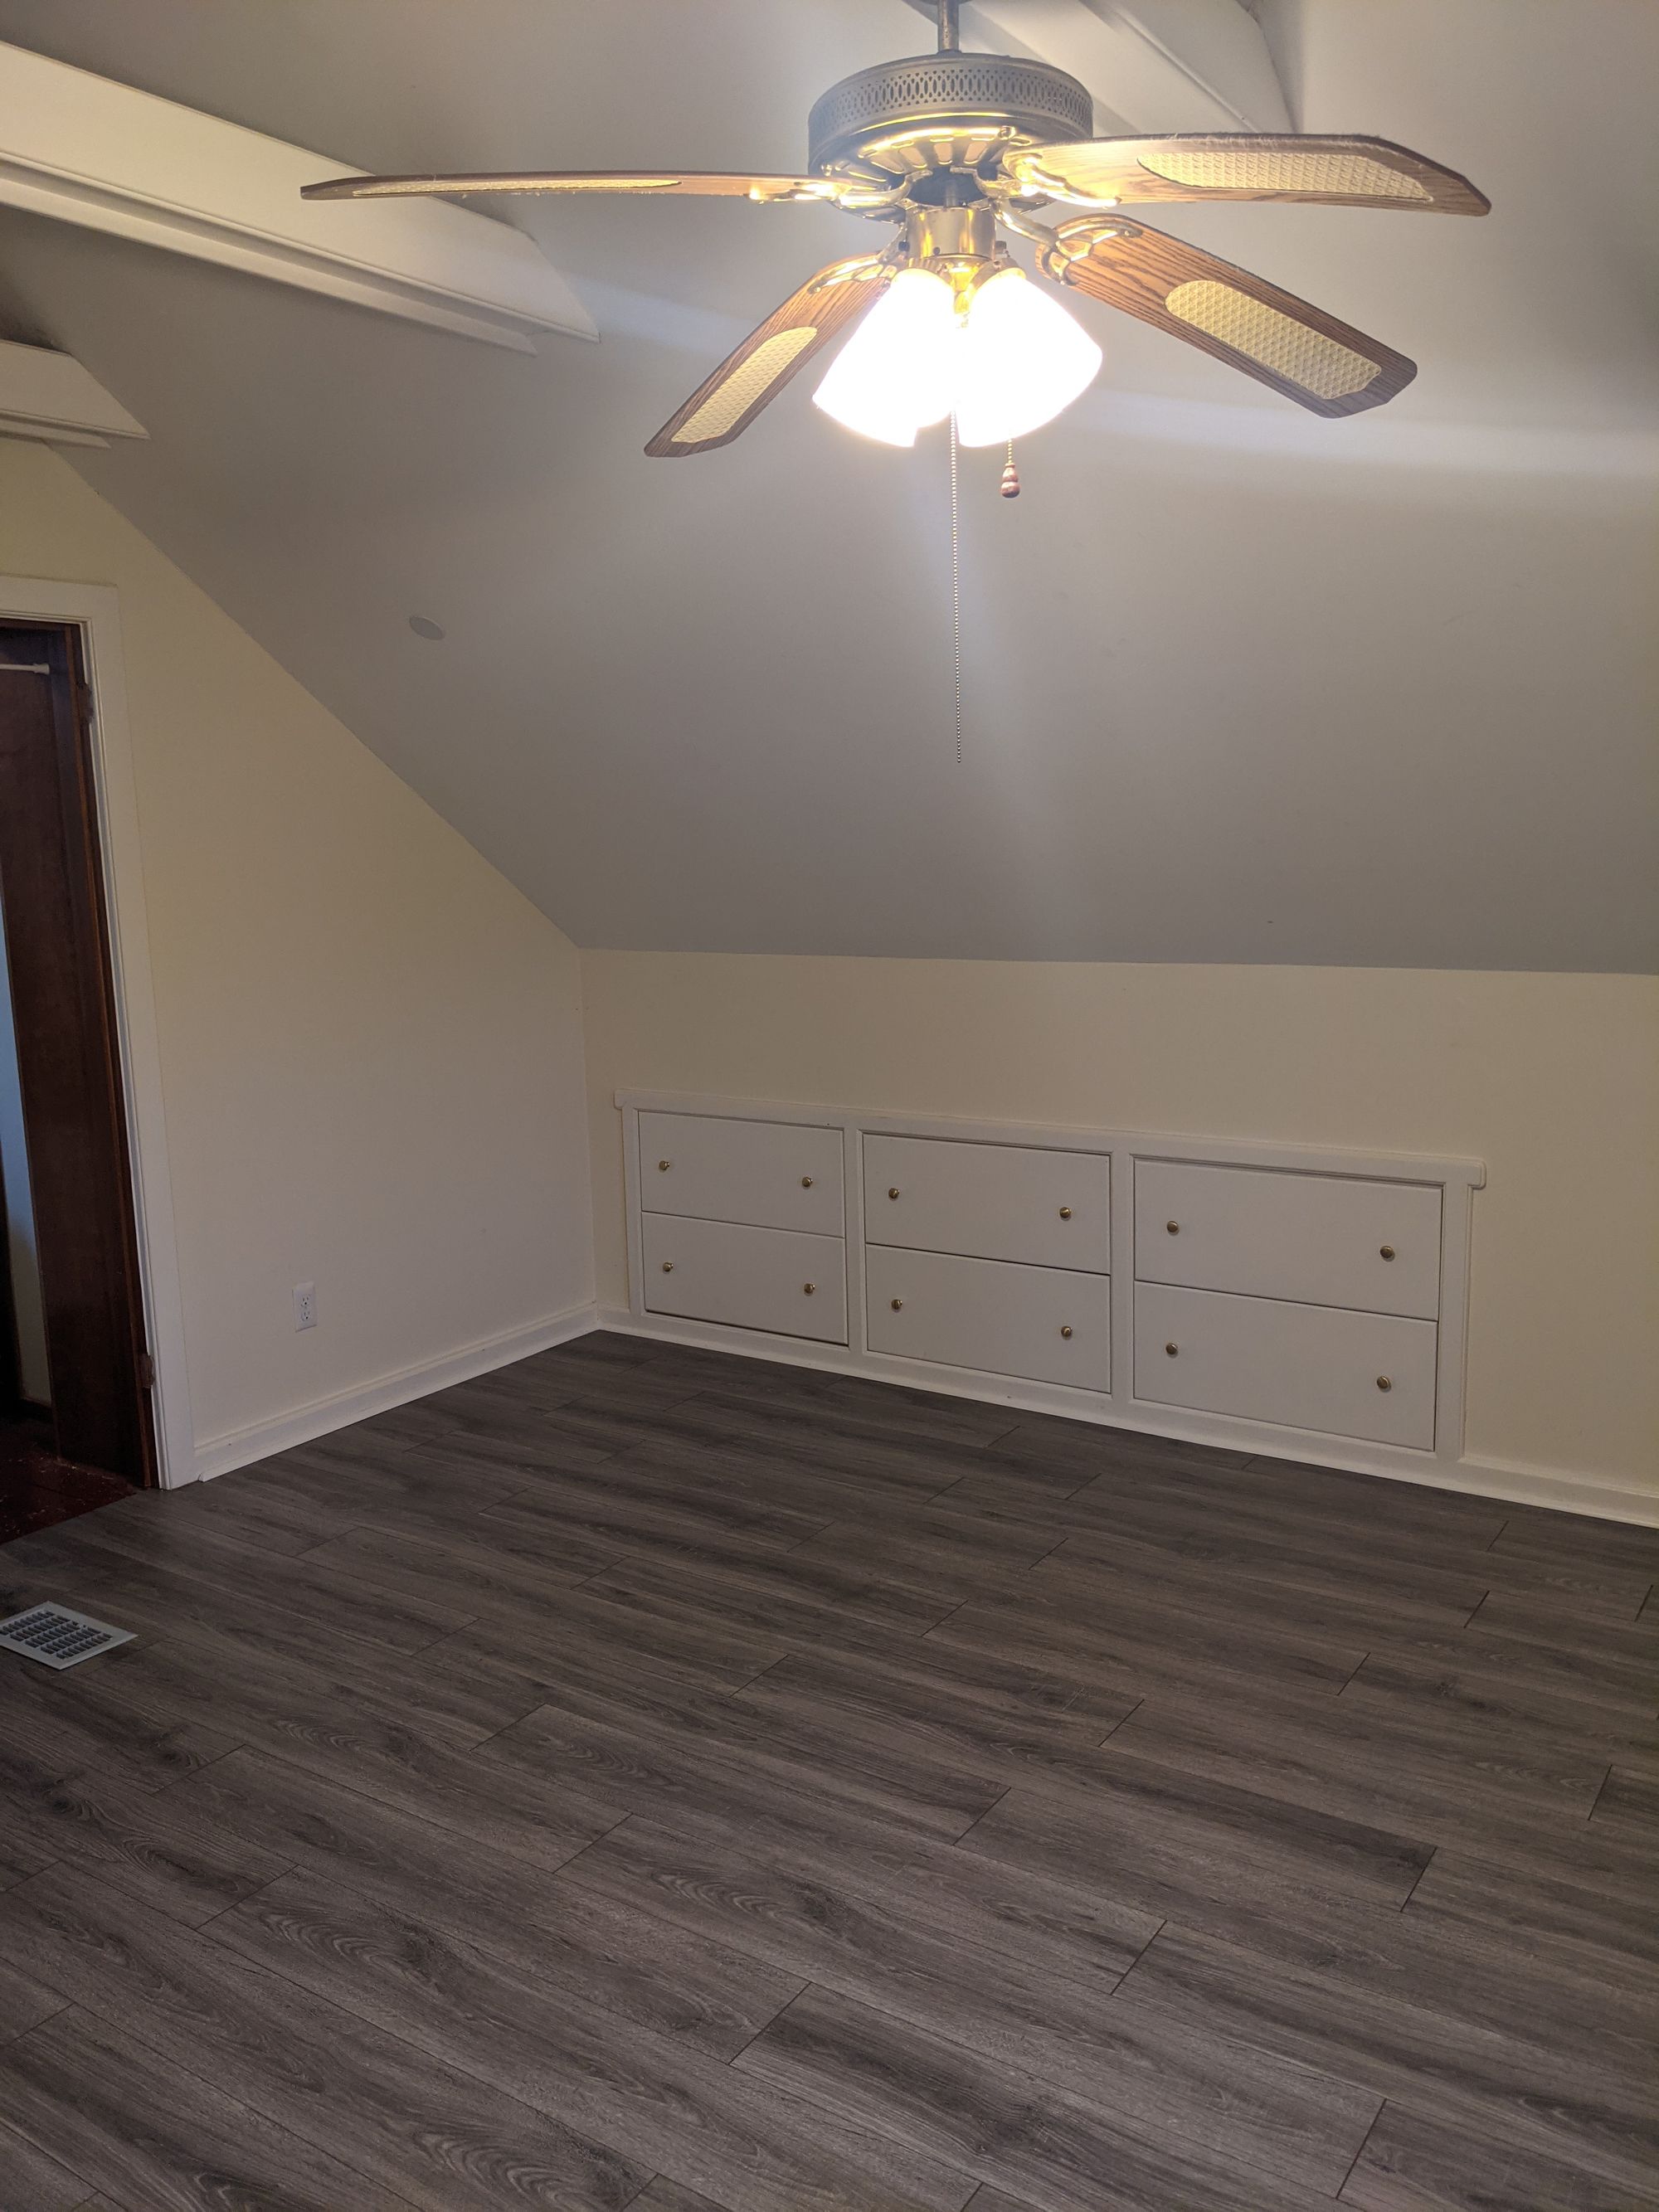
Before and After
Design Phase 🖼️
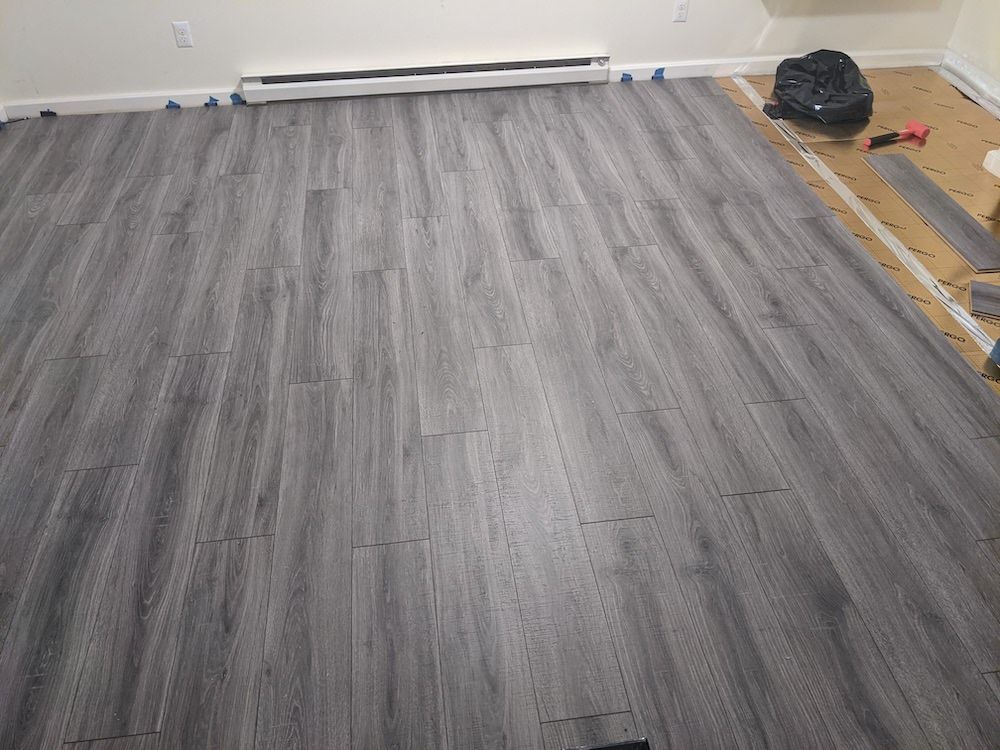
After comparing a few flooring samples and creating a SketchUp model of the potential floors using their product photos, I wound up settling on these wide cool grey Pergo Trenton Oak laminate planks.

Laminate flooring is a good choice for rental properties since it's scratch- and dent-resistant, and easy to clean. This particular version is also waterproof. Seemed like a good option for this pet-friendly rental property.
Then came the budgeting phase. 😉 I've become a hawk about budgeting and responsible personal finance so gave this flooring project "a job", as they say, in You Need A Budget before purchasing any floors and supplies. We were then able to pull the trigger on this project later on, ensuring that we would have all the materials and supplies necessary to finish the entire upstairs with the same flooring material in the event the flooring supplier ran out of materials.
Prep Phase 🏗️
One advantage to living on subfloors for several months during cold weather is that you can't help but notice drafts. I used Great Stuff spray foam insulation near the baseboard heater and window to block out drafts and make it cozier this winter.

Another advantage is that you notice creaks in the floor. Squeaky floors are caused when the subfloor begins to separate from the floor joists. Given our subfloor was pretty squeaky, I started by securing the planks to the joists using Squeeeeek No More fasteners. I found out about these nifty fasteners through a This Old House episode. They're essentially screws, but the head snaps off once the screw is lodged in your joist and subfloor, keeping the subfloor flat and preventing squeaks.


I must have inserted about 20 fasteners in this 16'x12' room. There were a lot less creaks by the time I'd finished. I couldn't get it perfectly silent but, no matter: That's where the underlayment comes in. I used Pergo Gold, which is a fairly thick barrier that absorbs noise as it buffers the subfloor.
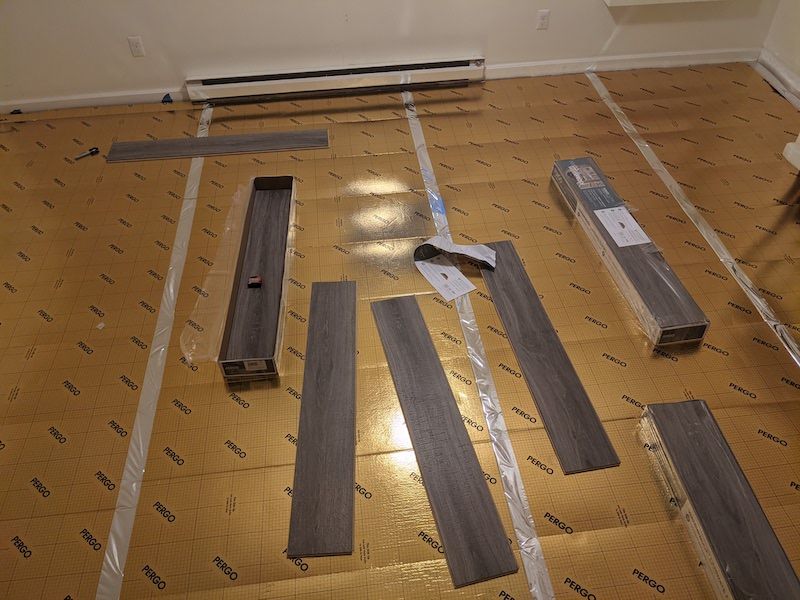

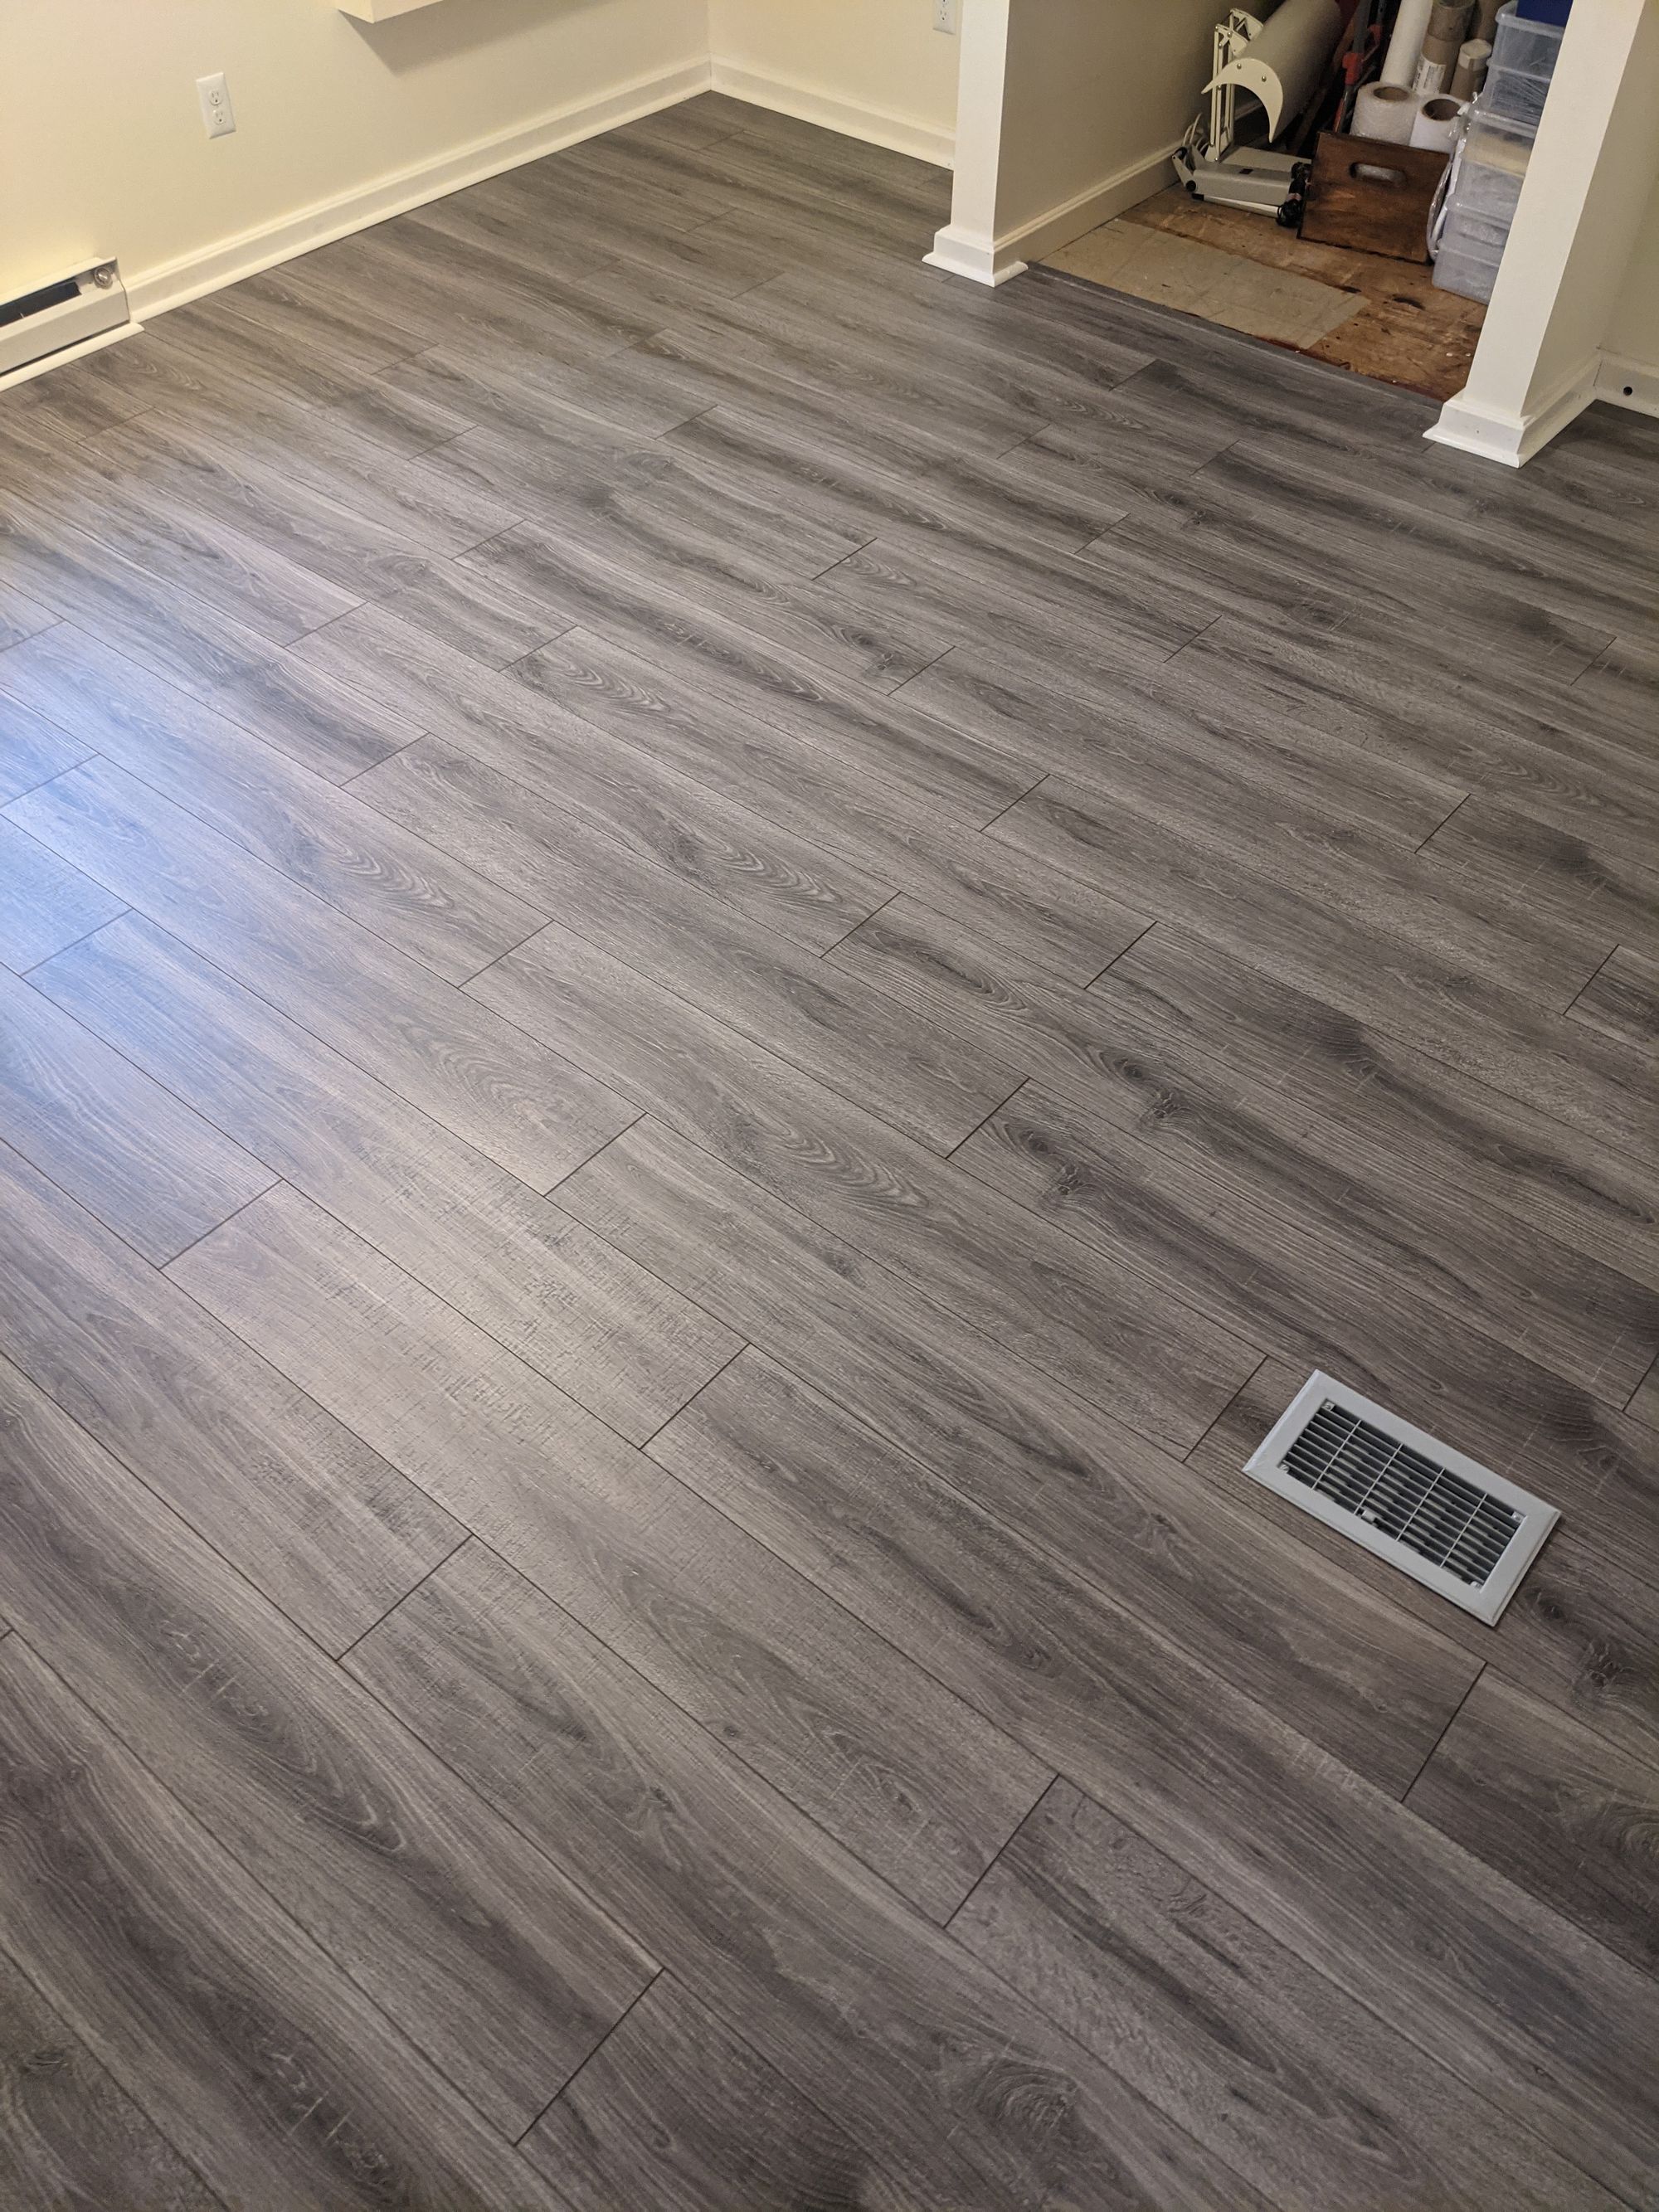
I'd originally planned for the laminate planks to lie perpendicular to the plank subfloor but, after some research, I made the call to flip them parallel; we have a special situation. Our plank subfloor doesn't dip more than 3/16" (the manufacturer's recommendation), including between planks, and the laminate planks are much wider than the subfloor planks so should be adequately supported, especially with the thick underlayment. Our subfloor is also, luckily, extremely flat.
On the design end, I wanted to make the room appear longer than it actually is, following design principles from Frida Ramstedt's The Interior Design Handbook:
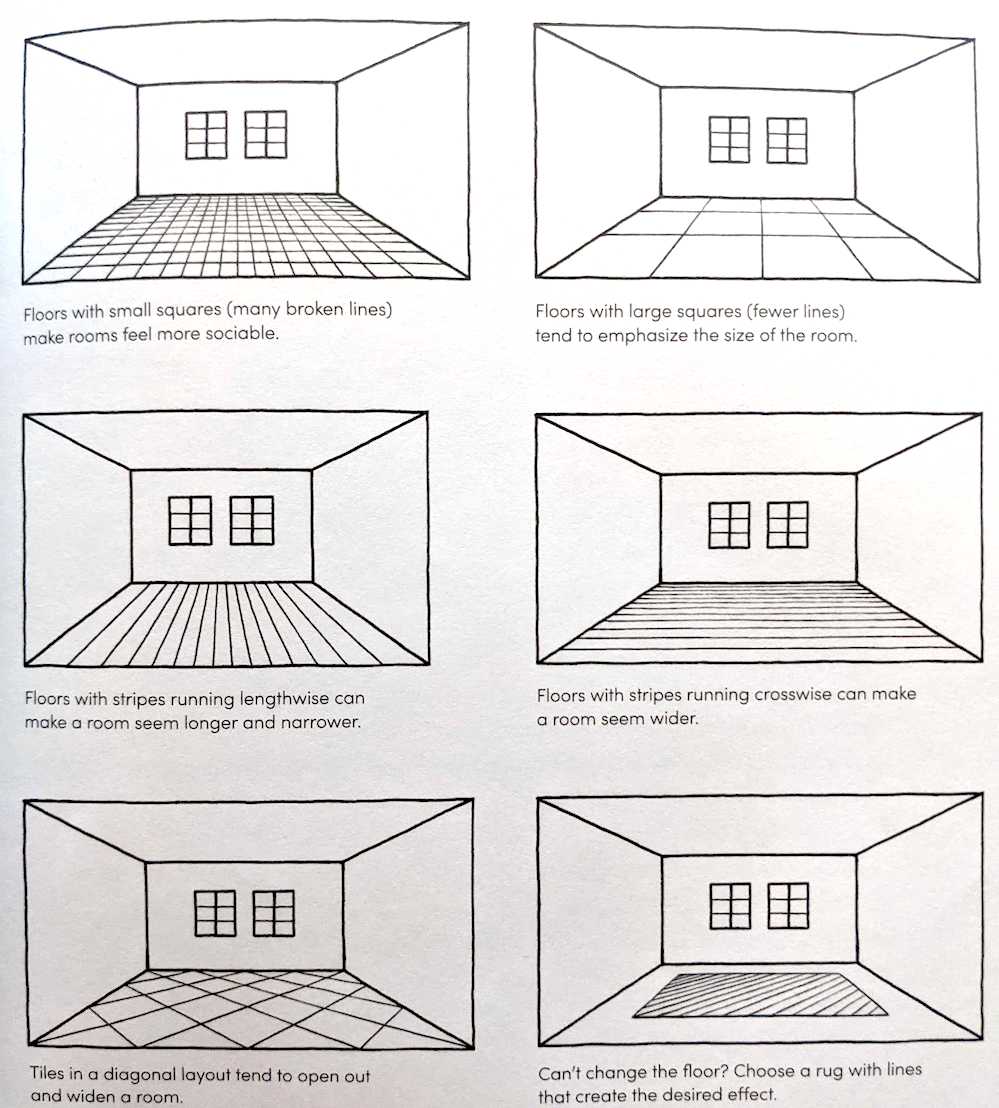
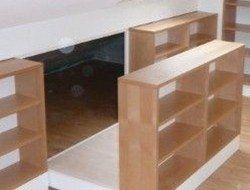
You can't see it (yet!), but this bedroom's entryway is through a really neat built-in floor-to-ceiling bookshelf. I envision someone walking upstairs and gazing through this bookshelf into what appears to be a long, inviting bedroom. Something feels magical about that.
The only other prep work item was painting the vent. I used Krylon gloss pewter gray spray paint. I'll probably go with something darker later, once we get around to painting the rest of the room.

Laminate Phase 🧱
This part was smooth sailing, but it did take me two days to finish (the first day included prep work such as fixing subfloor squeaks and applying insulation). There are two items I wish I'd had handy which would have made everything go faster:
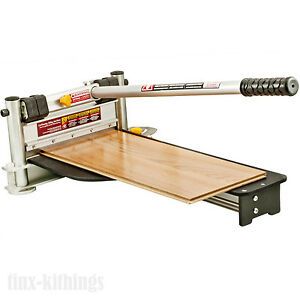
- A laminate flooring cutter. I had to go downstairs to the miter saw each time I needed to cut a plank. That back-and-forth time added up, and the miter saw spewed sawdust everywhere. The laminate flooring cutter looks more portable, clean, and quick.
- More spacers for the perimeter. I'd bought a Blue Hawk flooring installation kit which only came with 30 spacers. Each spacer is part of a pair that fills 3/8" together, meaning I could only use 15 spacers at a time. I wound up ripping strips of scrap wood to use as spacers instead, but those are slightly more difficult to remove once you're ready to seal the perimeter.
Once the floor was all laid out, adding the quarter round shoe moulding really classed it up and hid any gaps in the perimeter. I used 11/16" quarter rounds. I also added a threshold in the finished crawlspace — nobody is probably going to see that once we add a door, but I would know if it weren't done. 😉 The only atypical part of this process was that I mitered an edge around our baseboard heater with a slight gap so heat could still escape.
Next Steps 📝
We're definitely going to paint the walls. That pale yellow has got to go.
I've submitted a design request to one of my favorite online interior design studios, Modsy, to see what ideas they have for the room. I've submitted a few floor plans to them in the past and they've always come up with interesting designs.
I mentioned that the entryway to the bedroom is through a door frame in a built-in bookshelf. I've become fixated on hidden bookshelf doors, and would like to mask the built-in drawers and finished crawlspace with hidden shelf doors to match the built-in shelf theme.
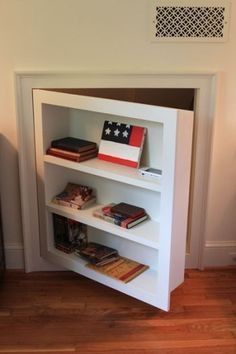
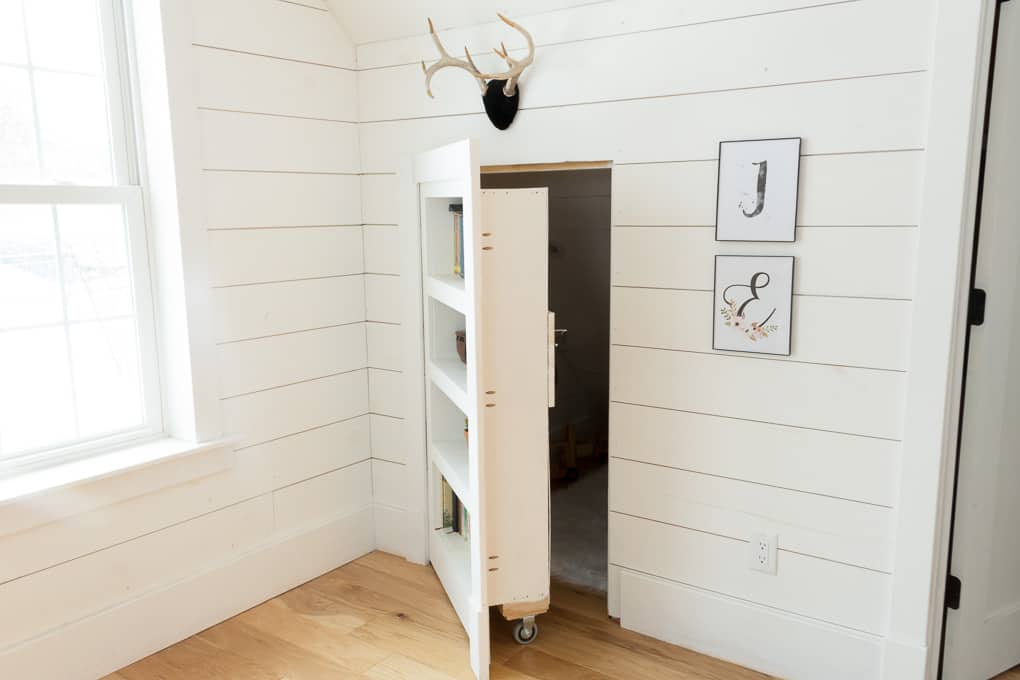
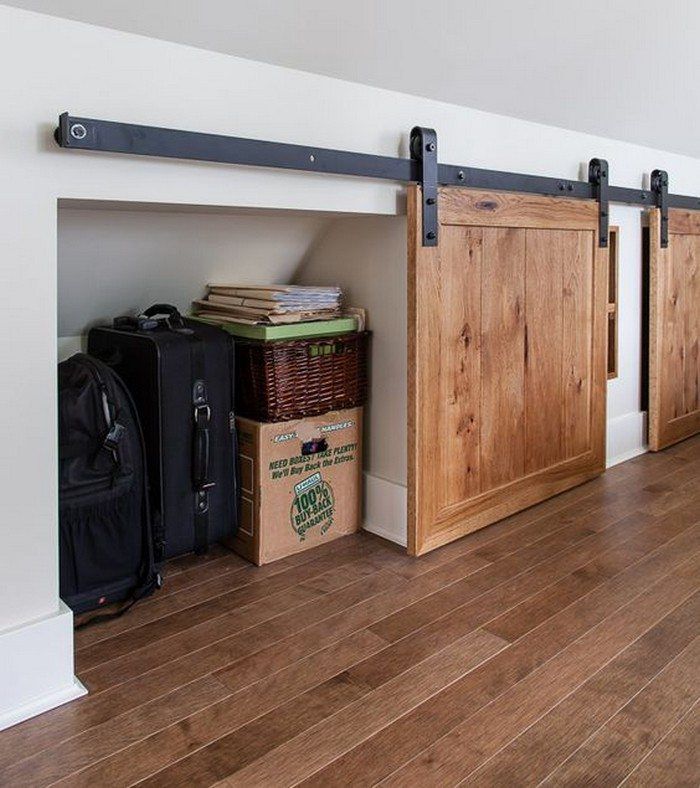
Probably going to whip up a shelf and then use this Murphy Door hardware.
 Murphy Door, Inc.
This Old House — as always — has an excellent video on hidden door installation where they install a manufacturer-built shelf:
Now that the bedroom floor is done, we're going to finish the rest of the floor upstairs and on the stairs.
I absolutely love these floors and am really happy about how this room turned out. 😍 Not only are there no more squeaks (!), the room is much more insulated. I'm now even more motivated to finish the rest of the upstairs and stairs with the same floor.